 11th Sep 2011.
It had been some time since my problems with my valve springs as I had found it quite difficult to locate some good second hand 1600 heads. Amazingly I found these eventually on hht://www.volkszone.co.uk web site and they where only a few miles away from me the whole time. I was lucky that the heads that I found had come from an engine that had only done 1500 miles or less so the heads had effectively already been run in.
I had managed to find some Heavy duty springs for same on eBay and new that they would have to be fitted to the new heads. This was as I had found to my cost that the standard springs would not take the compression from the ham and high lift rockers. I had also decided that rather than find chromoly push rods at this time I would use a set of bolt together 1:2 rockers I had purchased already.
The first thing I did with the heads was to remove the springs and valves and clean the ports on the heads. This in simple terms means smoothing the inlets to the ports with sand paper or an electric tool.
Fitting the Heavy duty
 Springs turned out to be a challenge my converted spring removal tool bent under the strain. I knew I would have to buy the bigger valve tool that I had tried to buy the last time from Cool Air before Bug Jam but decided this time to buy it from VW Heritage it arrived a day later.
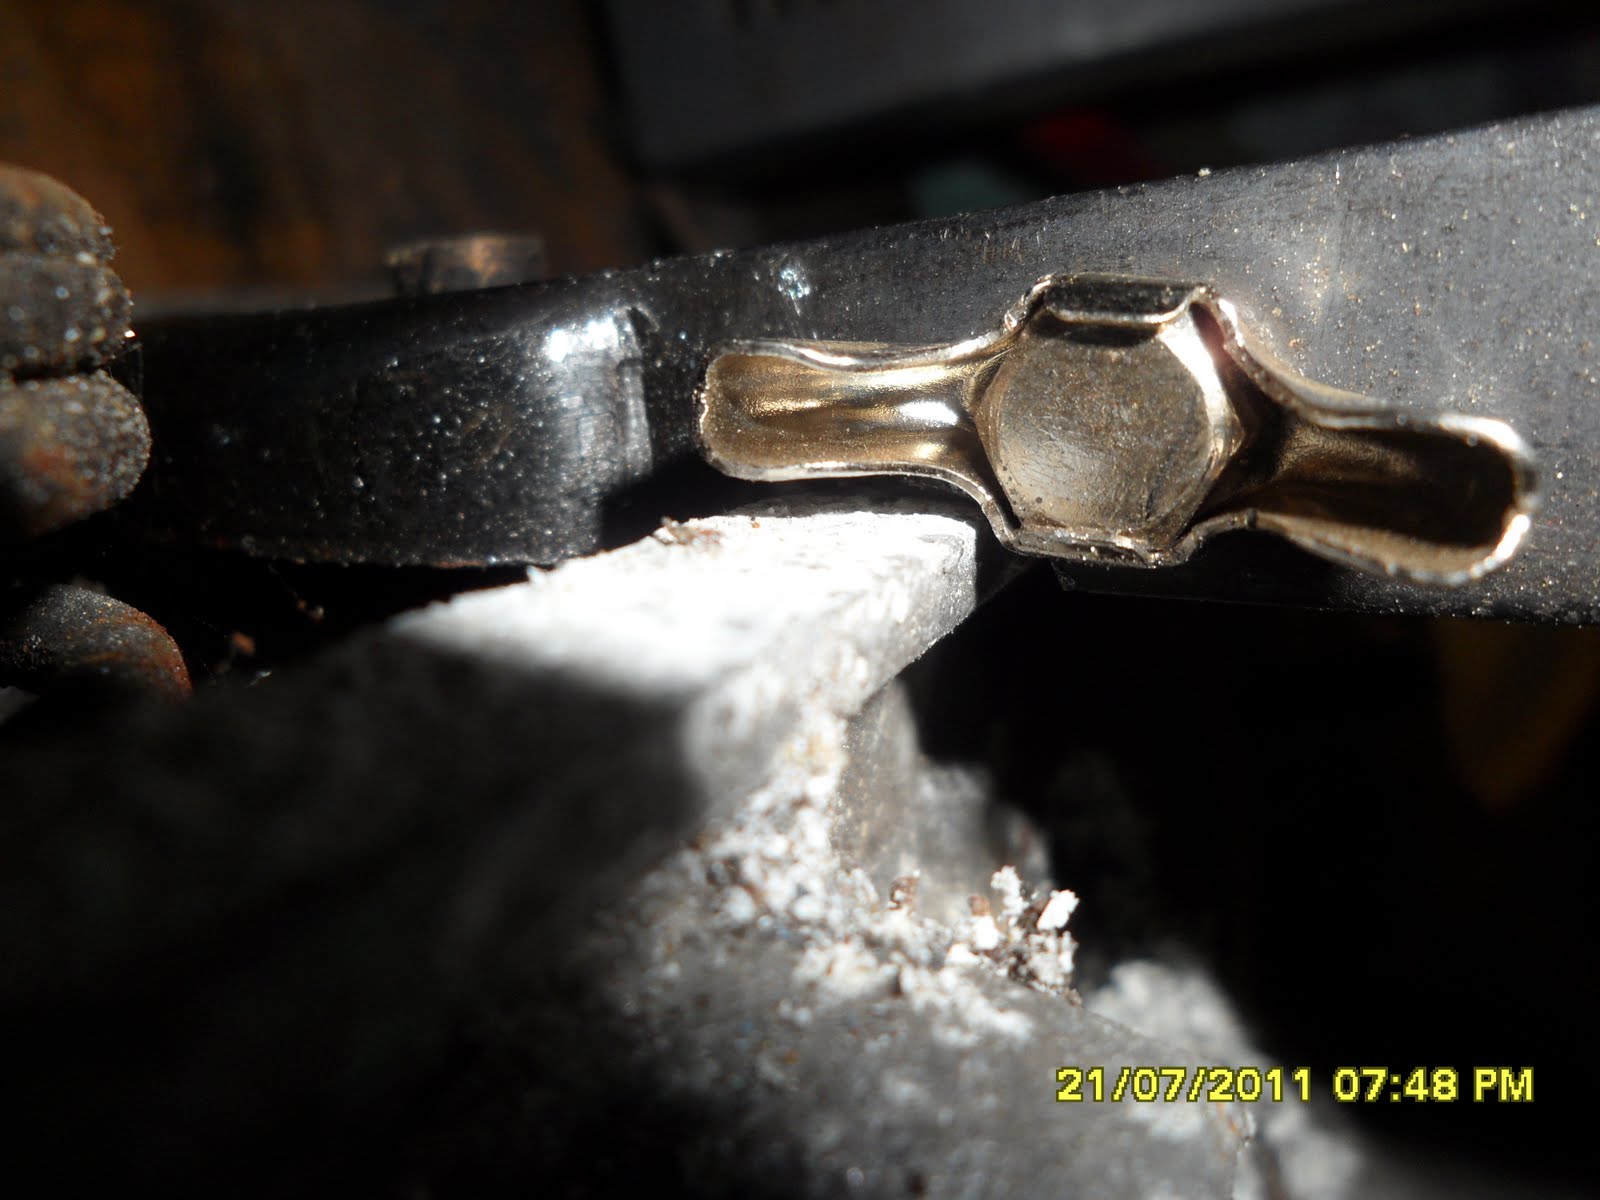
The tool came in two package a package containing a split pin and the other containing the tool in separate bits. Amazingly there was no instructions for assembly but fortunately I had seen a diagram that I loaded up onto my site before showing it put together. The tool is a fantastic piece of kit but you need to learn how to use it. Firstly there are small pieces of tubing welded to the base these have to be aligned on the valve head . You cannot simply place the head on the tool and do all the valves without moving the head. Secondly when you press down on the arm after locating the tool head on the valve as in the picture the spring gives a little before it hits this block on the base. You need to press the arm quite hard after this to break the seal between the collet's and the retainers, they will usually let go with a thud and the spring will compress allowing the collet's to be picked out of the retainers with a bradel. Once the collet's are removed the arm can be released to allow the spring to be removed. The head then needs to be adjusted before this procedure can be repeated. The new collet's and retains are also heavy duty and it is easy to tell the difference. I found it a fiddle to get the Heavy Duty Valve springs on the tool and head. The main reason for this was the springs seem to be longer as well as thicker. I found that balancing the spring and retainer on the head and pulling down the tool head so it touched i could then push the spring and retainer into the tool head. I also found it difficult to get the collet's in place i found that insert in one then releasing the arm centralized the retainer and made it easier to fit the second collet in. The bradel was extremely useful to move these small collet's about as it had a sharp point.
 Once I had fitted the Heavy Duty Springs I fitted the heads to my engine block. The heads push onto the barrels and are bolted up to 35 lbs/ft or 3.2 mKgs depending on your torque ratchet. The Heavy Duty Valves are easily identified as the retainers are a different shape. Once I had the heads torqued up I realized I had forgotten to install the air deflectors under the barrels , these are very important and slot under the barrels. They cannot be fitted with the heads on so I had to remove the heads and refit them a good lesson learned her check they are fitted first. I then fitted my 1:2 bolt up rocker arms you can see they are very similar to the Scat Pro Rockers but do not have quite so much lift. I torqued these up to 18 lbs/ft ( torque settings) I had broken a stud in the past and new these must not be over tightened. I fitted the tine ware over the heads and refitted the fan housing and the Alternator. these are fairly simple jobs apart form ensuring your fan is running freely there is not much more to it than bolting the tin ware together and using the alternator strap to tighten up the alternator. I moved my strap
 bolt round to the side so it did not foul the linkage kit . I fitted the carburetors and linkage kit with new gaskets (most important). I then left the engine over night so that it could cool enough for the valves to be adjusted. I used my own procedure to adjust the valves.
I just had the electrics to reconnect and decided that it was in need of a little restorations. I had used some spiral wrap before and decided that I would use this to protect the loom . I would have to purchase this and would refit the electrics next time.










 Posts
Posts


